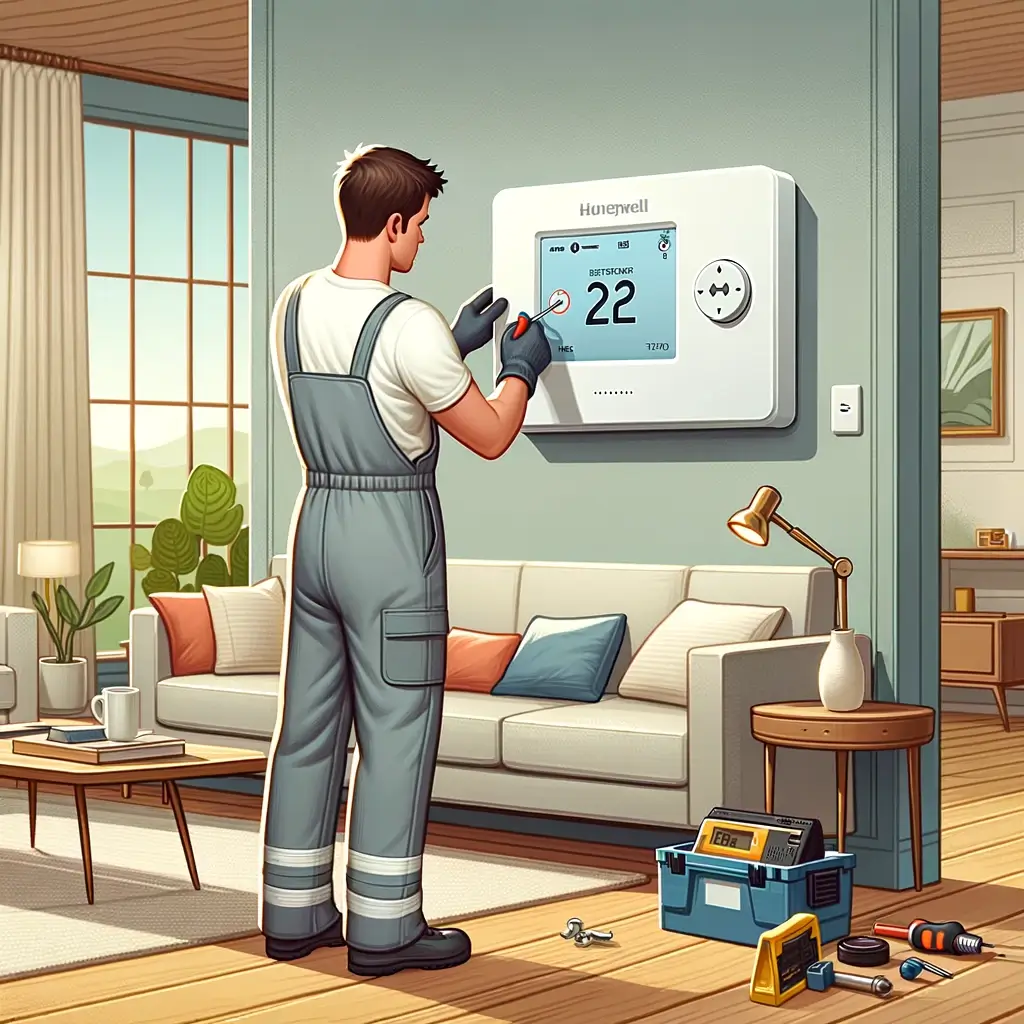
Installing a new thermostat in your home can seem daunting, but with the right guide, it can be a straightforward and satisfying DIY project. The Honeywell T6 thermostat is a popular choice for homeowners looking to upgrade their home heating and cooling systems. It combines user-friendly features with advanced technology to help you maintain the perfect temperature in your home while saving energy costs. This blog post will walk you through the detailed steps of installing the Honeywell T6 thermostat, as the official installation manual outlines.
Before You Begin

Before diving into the installation process, ensuring that your heating and cooling system is compatible with the Honeywell T6 thermostat is essential. You can check this by reviewing the compatibility information in the installation manual or Honeywell website. Additionally, gather all necessary tools and materials, including a screwdriver, drill, wire stripper, and the included mounting screws and anchors; read more…
Step 1: Turn Off Power
Safety first! Turn off the power to your heating and cooling system at the breaker box. This is a crucial step to prevent electrical hazards during installation.
Step 2: Remove Old Thermostat
Carefully remove your old thermostat to expose the wiring. Take a picture of the wiring configuration before disconnecting anything; this will be a helpful reference later. Then, disconnect the wires and remove the old mounting plate.
Step 3: Prepare the Wall and Wires
If the hole in the wall left by your old thermostat is too large, use the included wall plate to cover it. If necessary, drill new holes for the mounting screws, insert the anchors, and ensure the surface is clean and smooth for the new thermostat.
Next, prepare the wires for connection by stripping the ends if needed, ensuring they are straight and ready to be connected to the T6 thermostat.
Step 4: Install the Mounting Plate
Attach the mounting plate to the wall using the provided screws. Make sure it’s level using a built-in or separate level. This is important for the appearance of the thermostat and its operation.
Step 5: Connect the Wires
Refer to the picture you took earlier and the wiring diagram in the installation manual to connect the wires to the T6 thermostat. Each wire will go into a specific terminal based on your system’s configuration. Push the wires into the terminals until secure, and ensure no bare wire is exposed.
Step 6: Attach the Thermostat
Once the wires are connected, carefully attach the T6 thermostat to the mounting plate until it clicks into place. Ensure all cables are neatly tucked in and not pinched by the thermostat.
Step 7: Turn the Power Back On
After installing the thermostat, turn the power back on at the breaker box. Your Honeywell T6 should power up and prompt you to configure its settings.
Step 8: Configure the Thermostat
Follow the on-screen instructions to set up your thermostat. This will include setting the date and time, configuring heating and cooling preferences, and connecting the thermostat to your Wi-Fi network if you have the Wi-Fi model. The T6 thermostat also supports smart home platforms so that you can integrate it with your existing system.
Conclusion
Installing your Honeywell T6 thermostat is a rewarding project that can improve your home’s comfort and energy efficiency. With all the steps outlined in the installation manual, you can install and configure your new thermostat successfully. Review the manual for specific details related to your heating and cooling system, and enjoy the comfort and convenience your Honeywell T6 brings to your home.
This guide provides a general overview based on the typical installation process described in Honeywell’s T6 installation manual. For specific instructions, including troubleshooting and advanced settings, refer to the manual that comes with your thermostat. Safety should be your top priority, so if you’re unsure about any step of the process, consider consulting with or hiring a professional installer.
Download PDF for Honeywell T6 Installation Manual: