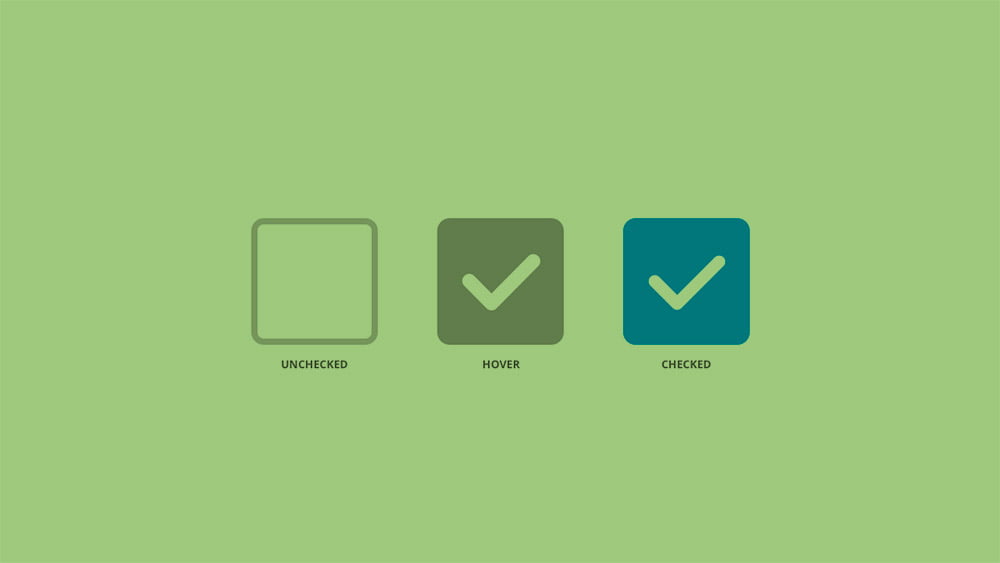
If you need to change the look of the CSS checkbox or radio buttons without using JavaScript, then this article is what you need.
First, we style the checkbox, for this, we need to create the following HTML markup
Styling CSS checkbox
HTML
| 1
2 3 4 5 | <label>
<input class=”checkbox” type=”checkbox” name=”checkbox-test”> <span class=”checkbox-custom”></span> <span class=”label”>Lorem ipsum dolor</span> </label> |
All our markup consists of three main elements, namely:
.checkbox – the real checkbox input [type = “checkbox”]
.checkbox-custom – I call this element a custom checkbox. We will change his appearance and position him as a stylized checkbox, because the real checkbox will be hidden
.label is the label text that will be displayed to the right of the checkbox
All these elements must be wrapped in a tag label, otherwise nothing will work.
By the way, if you want the checkbox to be checked by default, then in our HTML markup, for the real checkbox, set the attribute checked
CSS
Now add CSS styles.
| 1
2 3 4 5 6 7 8 9 10 11 12 13 14 15 16 17 18 19 20 21 22 23 24 25 26 27 28 29 30 31 32 33 34 35 36 | /* Hide the real checkbox */
.checkbox { display: none; }
/* We set the appearance for our custom CSS checkbox. All mandatory properties are commented on; the remaining properties are changed at your discretion. */ .checkbox-custom { position: relative; /* Be sure to set so that we can absolutely position the pseudo-element inside our custom checkbox */ width: 20px; /* Be sure to set the width */ height: 20px; /* Be sure to set the height */ border: 2px solid #ccc; border-radius: 3px; }
/* Custom checkbox and label centered vertically. If you do not need this, then you can remove the vertical-align: middle property from this rule, but the display: inline-block property must be */ .checkbox-custom, .label { display: inline-block; vertical-align: middle; }
/* If we have checked the real checkbox, then we add this feature to our custom checkbox */ .checkbox:checked + .checkbox-custom::before { content: “”; /* Add our pseudo-element */ display: block; /* Making it a block element */ position: absolute; /* We position it in an absolute way */
/* Set the distance from the upper, right, lower and left borders */ top: 2px; right: 2px; bottom: 2px; left: 2px;
background: #413548; /* Add a background. If required, you can put a picture in the form of a “checkmark”, which will symbolize that the checkbox is checked */ border-radius: 2px; } |
If you know basic CSS, then understanding these styles is easy.
But for those who are still just learning, I’ll try to explain what exactly we are doing with this CSS code.
- We hide our real checkbox. We do this because the checkbox itself cannot be cross-browser styled in pure CSS. Therefore, we apply a little trick, hide the real checkbox, and customize the box (I remind you that this is an element with a class .checkbox-custom), we style as we need.
Due to the fact that our real and custom checkboxes were wrapped in a tag label, now if a user clicks on a custom checkbox, he will also mark our real checkbox, which is hidden. Thus, we establish a direct relationship between real and custom checkboxes.
- Set the appearance for our custom checkbox. I have commented on all the important properties in the CSS above, so I won’t stop here.
- This is perhaps the most interesting. I think you noticed the selector.checkbox:checked + .checkbox-custom::before
Must read: Button CSS Style Example
He sets the following
If our real checkbox is checked (the selector is following this .checkbox:checked), then inside the custom checkbox we add a pseudo-element (it is responsible for this .checkbox-custom::before). This pseudo-element is displayed as a small square inside our custom checkbox. From this box, we can understand whether the checkbox is checked or not. Of course, you can exchange this box for anything, for example, for the usual “checkmark”. CSS does not limit us in this matter.
And we also see that the selectors .checkbox:checked and .checkbox-custom::before connected to the “+”, with his help, we essentially ask the attitude that if the actual checkbox is checked, only in this case we have to add pseudo inside of a custom checkbox, otherwise, is nothing to do need to.
Styling radio buttons
The process of styling radio buttons is similar to checkboxes.
We create the usual markup for us (in this case, only the names of some classes differ)
HTML
| 1
2 3 4 5 | <label>
<input class=”radio” type=”radio” name=”radio-test”> <span class=”radio-custom”></span> <span class=”label”>Lorem ipsum dolor sit amet, consectetur</span> </label> |
CSS
I added to the styles listed above, new selectors that relate specifically to radio buttons.
| 1
2 3 4 5 6 7 8 9 10 11 12 13 14 15 16 17 18 19 20 21 22 23 24 25 26 27 28 29 30 31 32 33 34 | .checkbox,
.radio { display: none; } .checkbox-custom, .radio-custom { width: 20px; height: 20px; border: 2px solid #ccc; border-radius: 3px; position: relative; } .checkbox-custom, .radio-custom, .label { display: inline-block; vertical-align: middle; } .checkbox:checked + .checkbox-custom::before, .radio:checked + .radio-custom::before { content: “”; display: block; position: absolute; top: 2px; right: 2px; bottom: 2px; left: 2px; background: #413548; border-radius: 2px; } .radio-custom, .radio:checked + .radio-custom::before { border-radius: 50%; } |
As you can see, the method is quite convenient, does not require the use of JS and will normally respond to standard form behavior, for example, to reset it.
The only drawback of this method is that we have to create some kind of empty element .checkbox-custom for checkboxes and .radio-custom for radio buttons. Which inside itself does not contain any sense from the point of view of HTML, because in the markup it rolls around like a “garbage” tag.
Therefore, you can slightly improve this method and completely abandon the “junk” tag, replacing it with a pseudo-element. If you are interested in how to do this, then please like this article or write a comment, then I will definitely release a sequel and describe the process in more detail.


